Easily create and share product updates with your users. Keep your community up to date with new features, improvements, and bug fixes.
Accessing the changelog
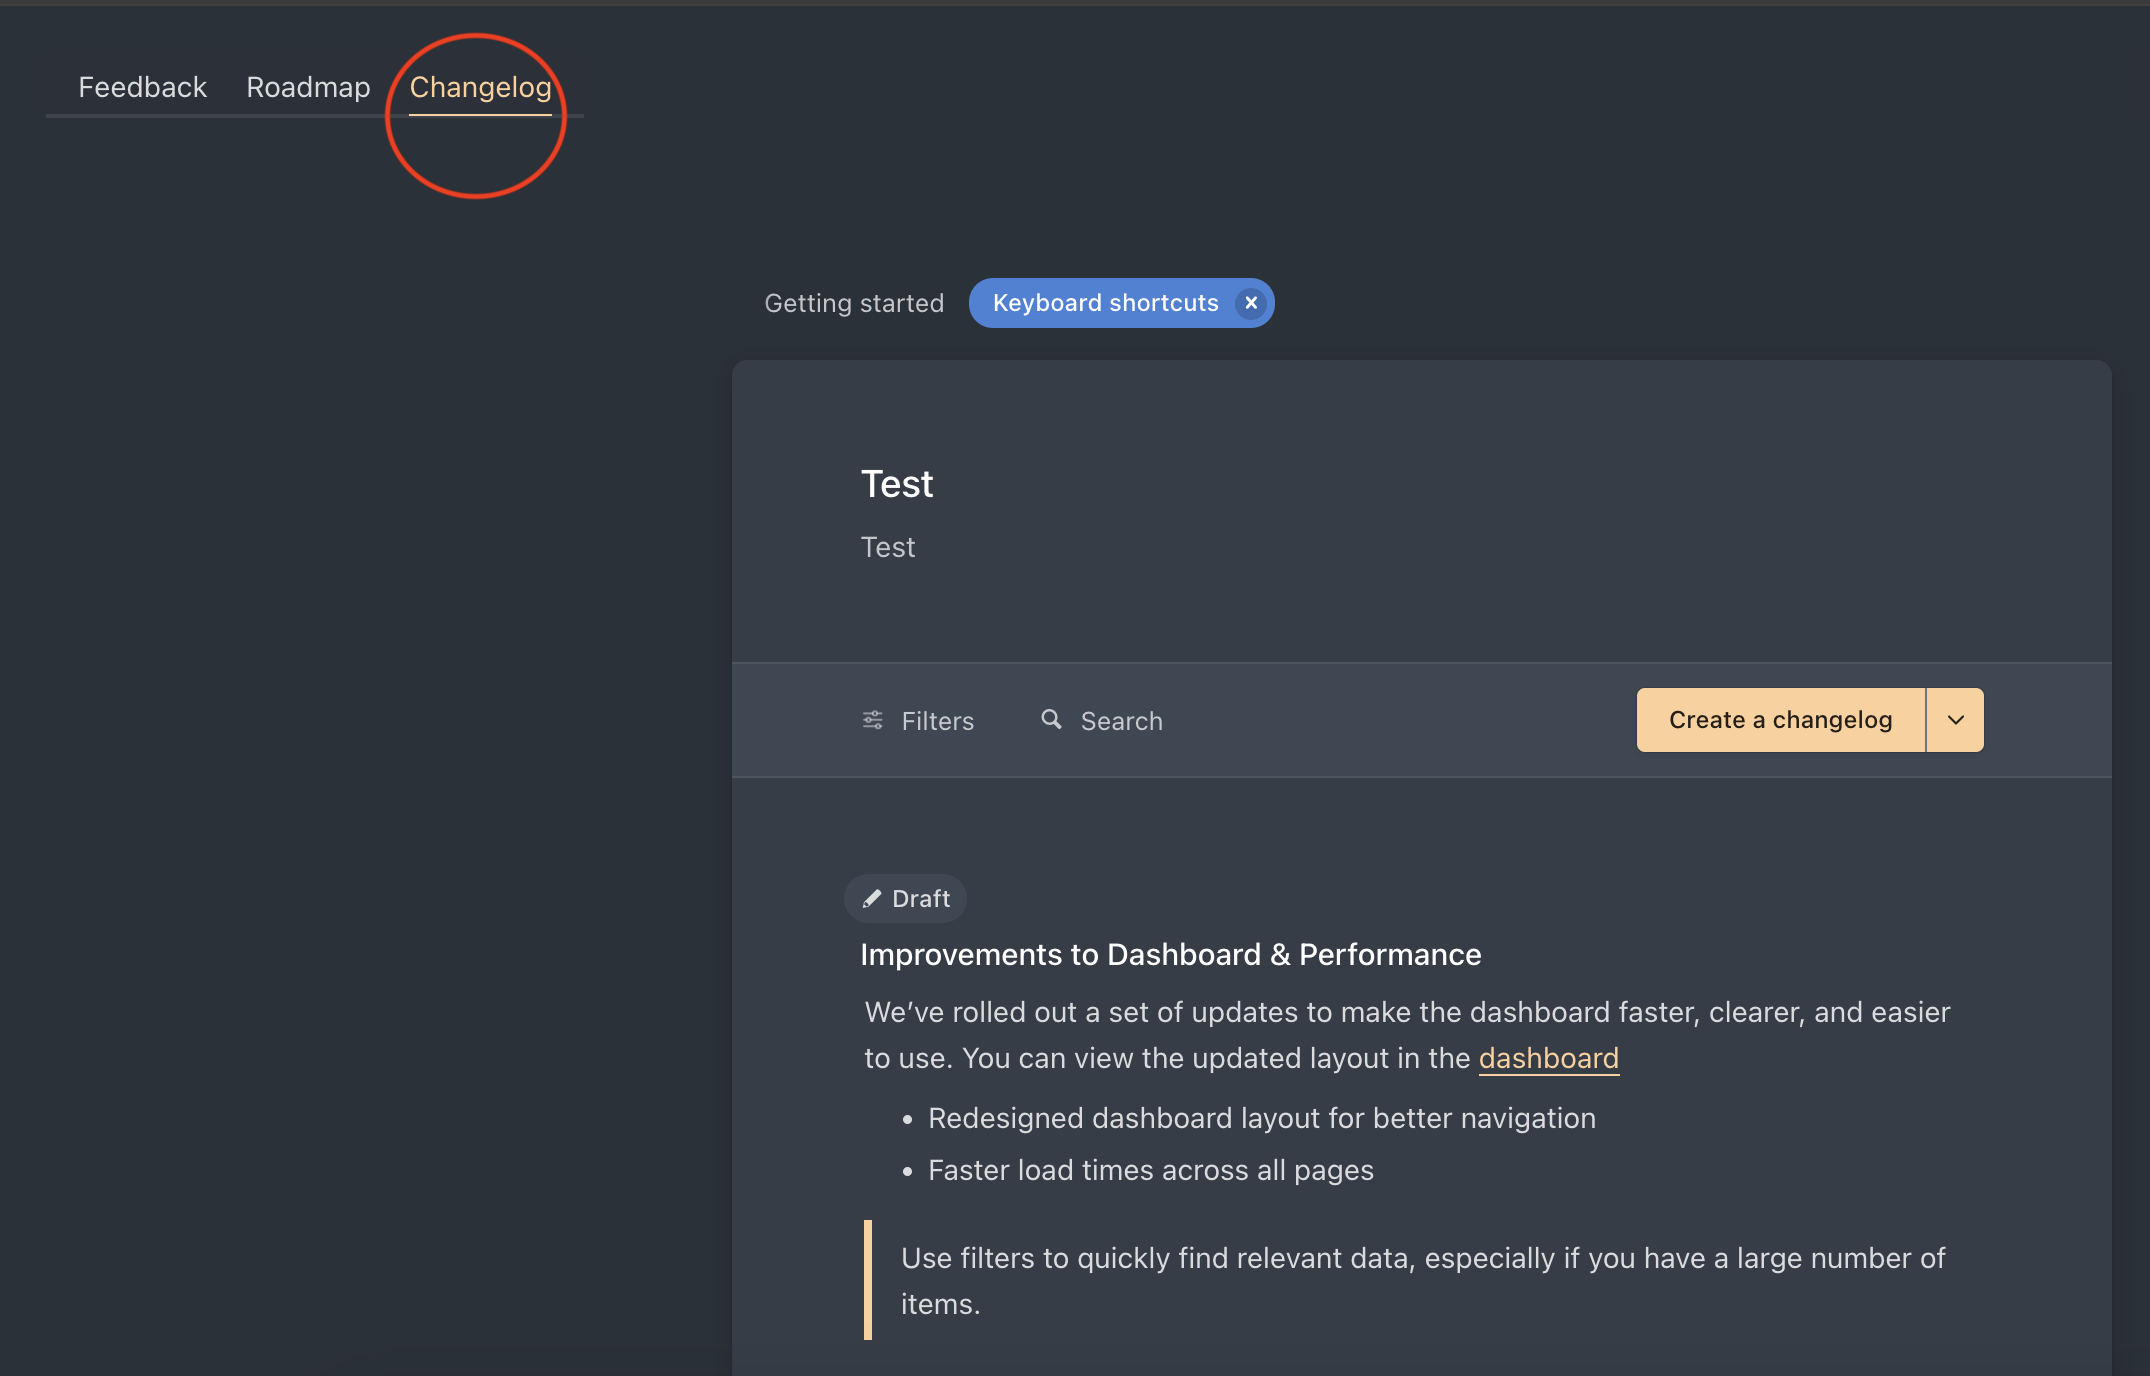
The changelog feature is enabled by default on all new Nolt boards. It is accessible from the top left of your board, next to Feedback and Roadmap.
Changelog general settings
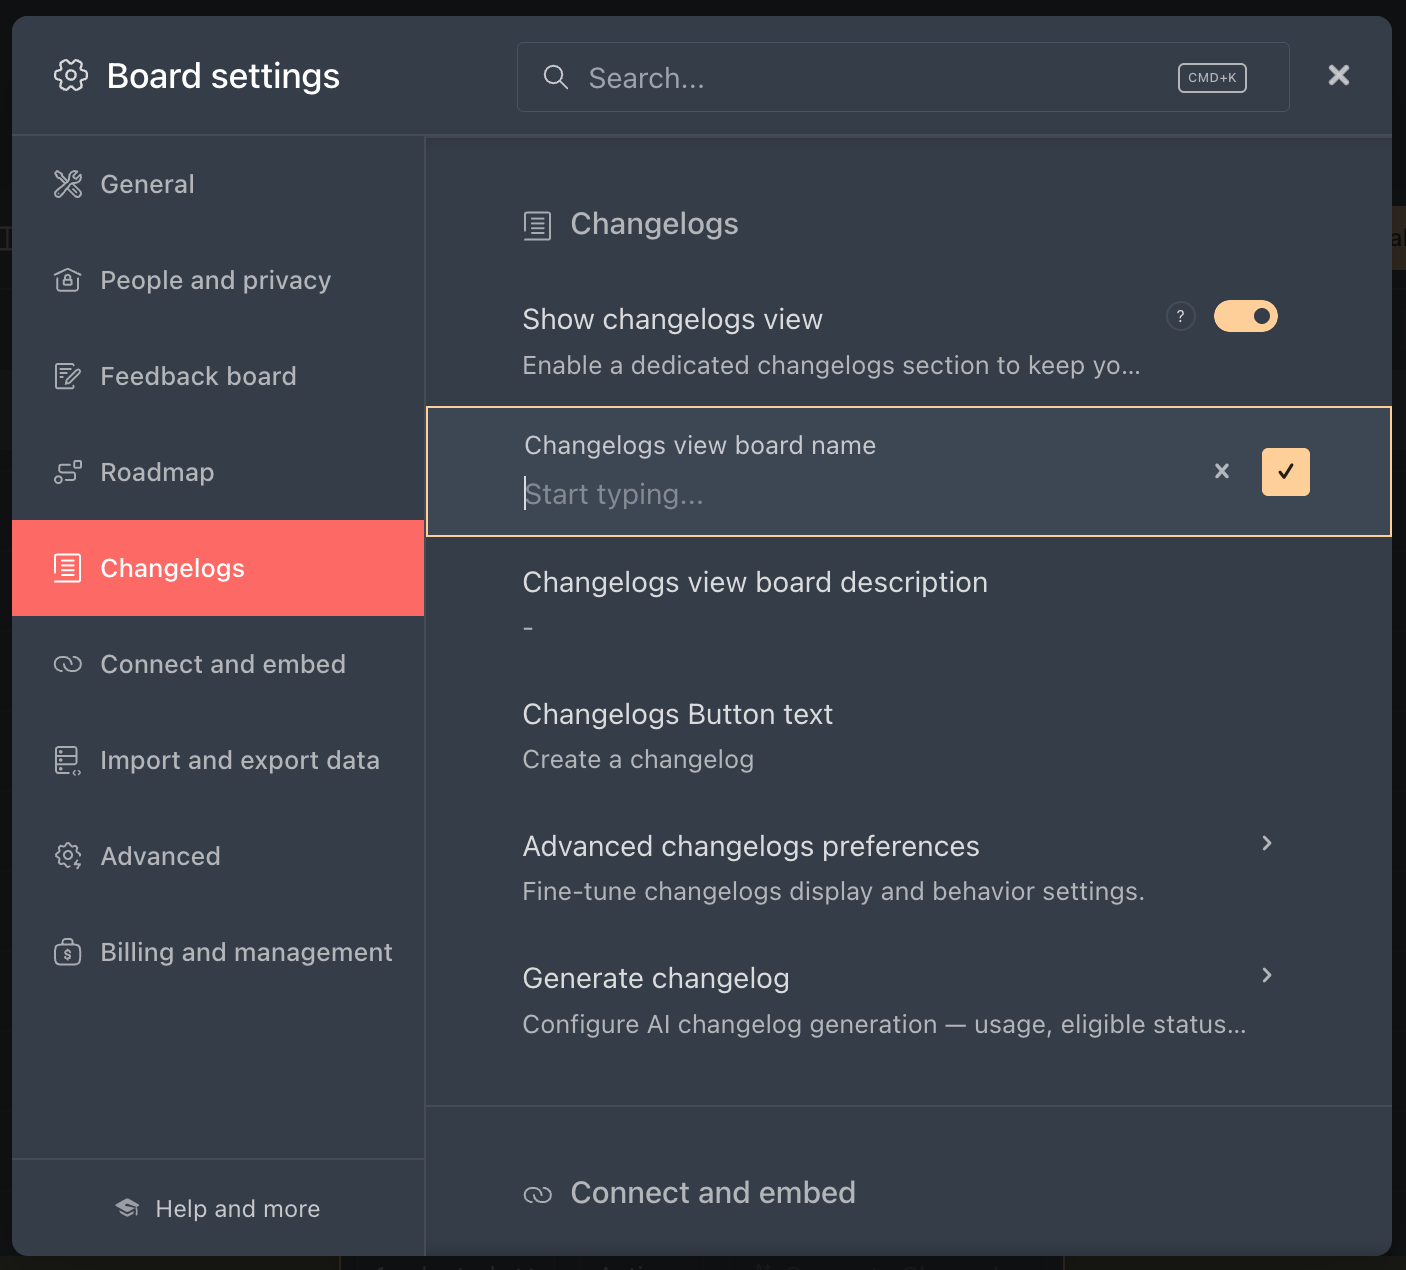
Go to your board settings and select Changelogs to manage the options below.
Disabling the changelog view
Don't need the changelog? Toggle Show changelog view off to hide the changelog page entirely.
Changelog board name
Set the name displayed on the changelog board header.
Changelog description
Add a short description just below the board name, shown at the top of the changelog page.
Changelog button text
This button is only visible to board admins and moderators. It opens the changelog editor and defaults to Create a changelog entry — customise the label to fit your team's language.
Creating a changelog entry
There are three ways to create a changelog entry: write one manually, generate it from feedback posts, or generate it from GitHub commits.
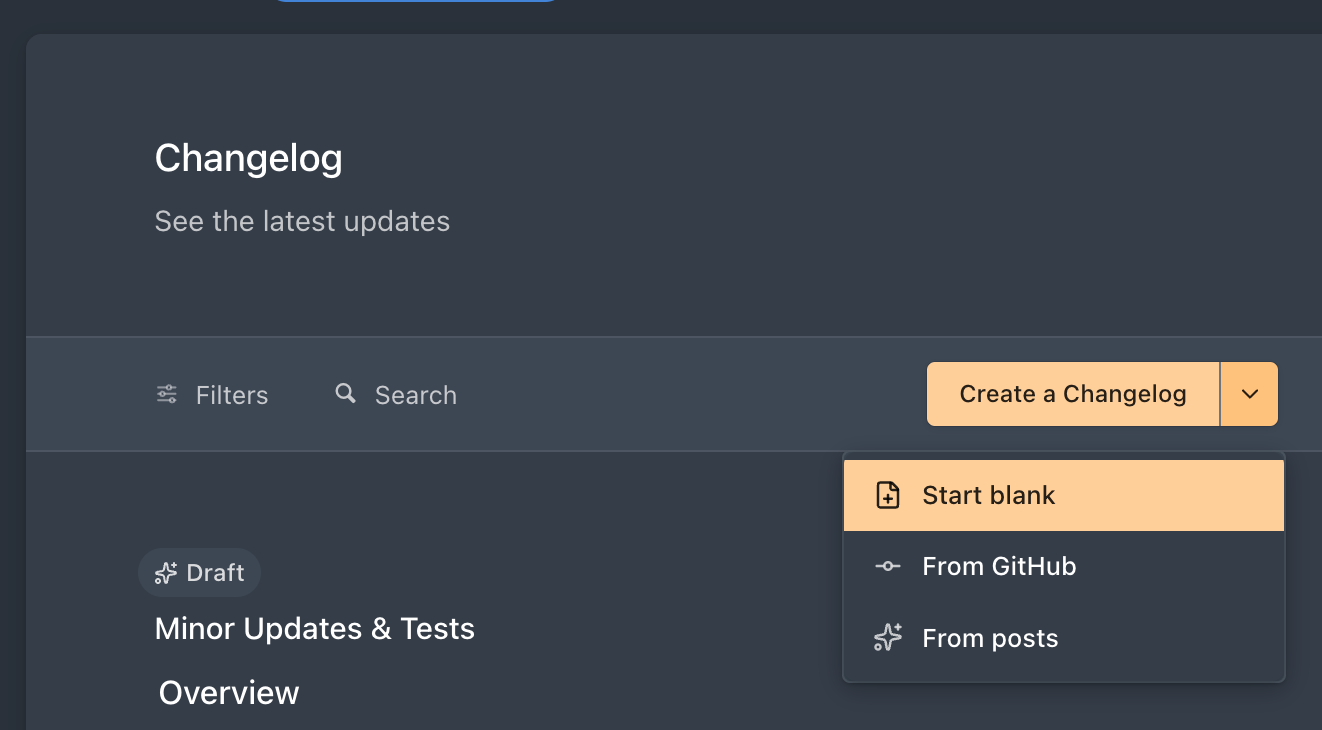
Write a changelog entry manually
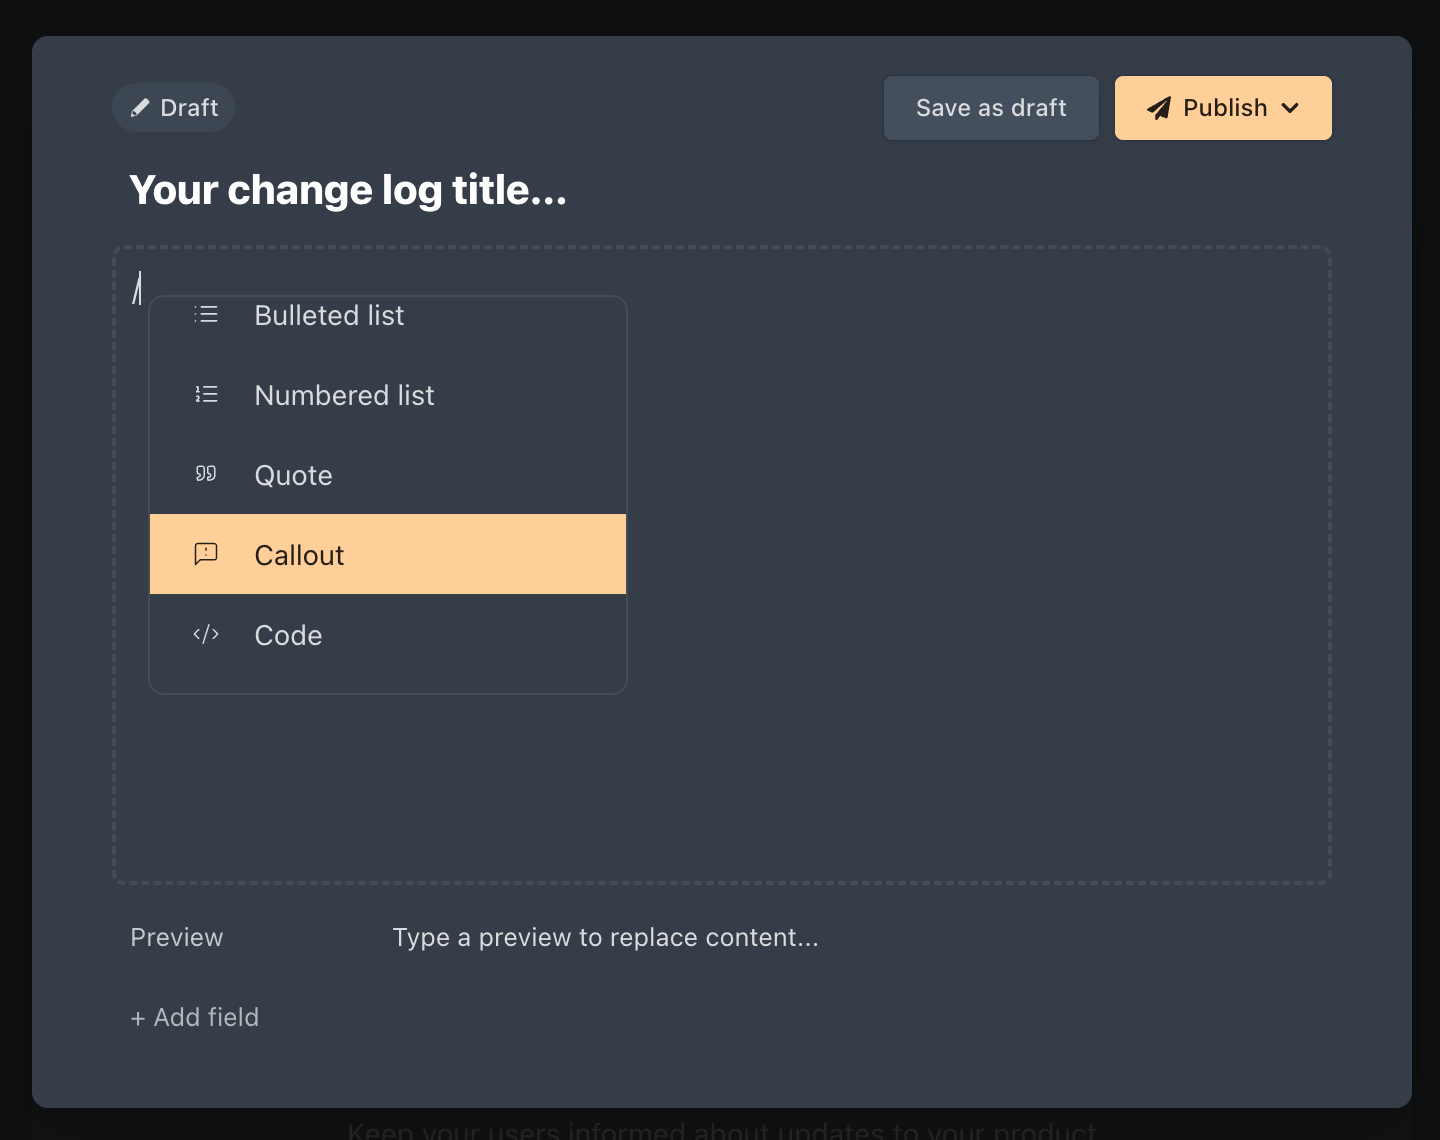
1. Add a title and post content
Give your entry a clear title, then write your post content. Press / in the editor to insert a callout, image, or any other block. Select any text to access inline formatting options and insert links.
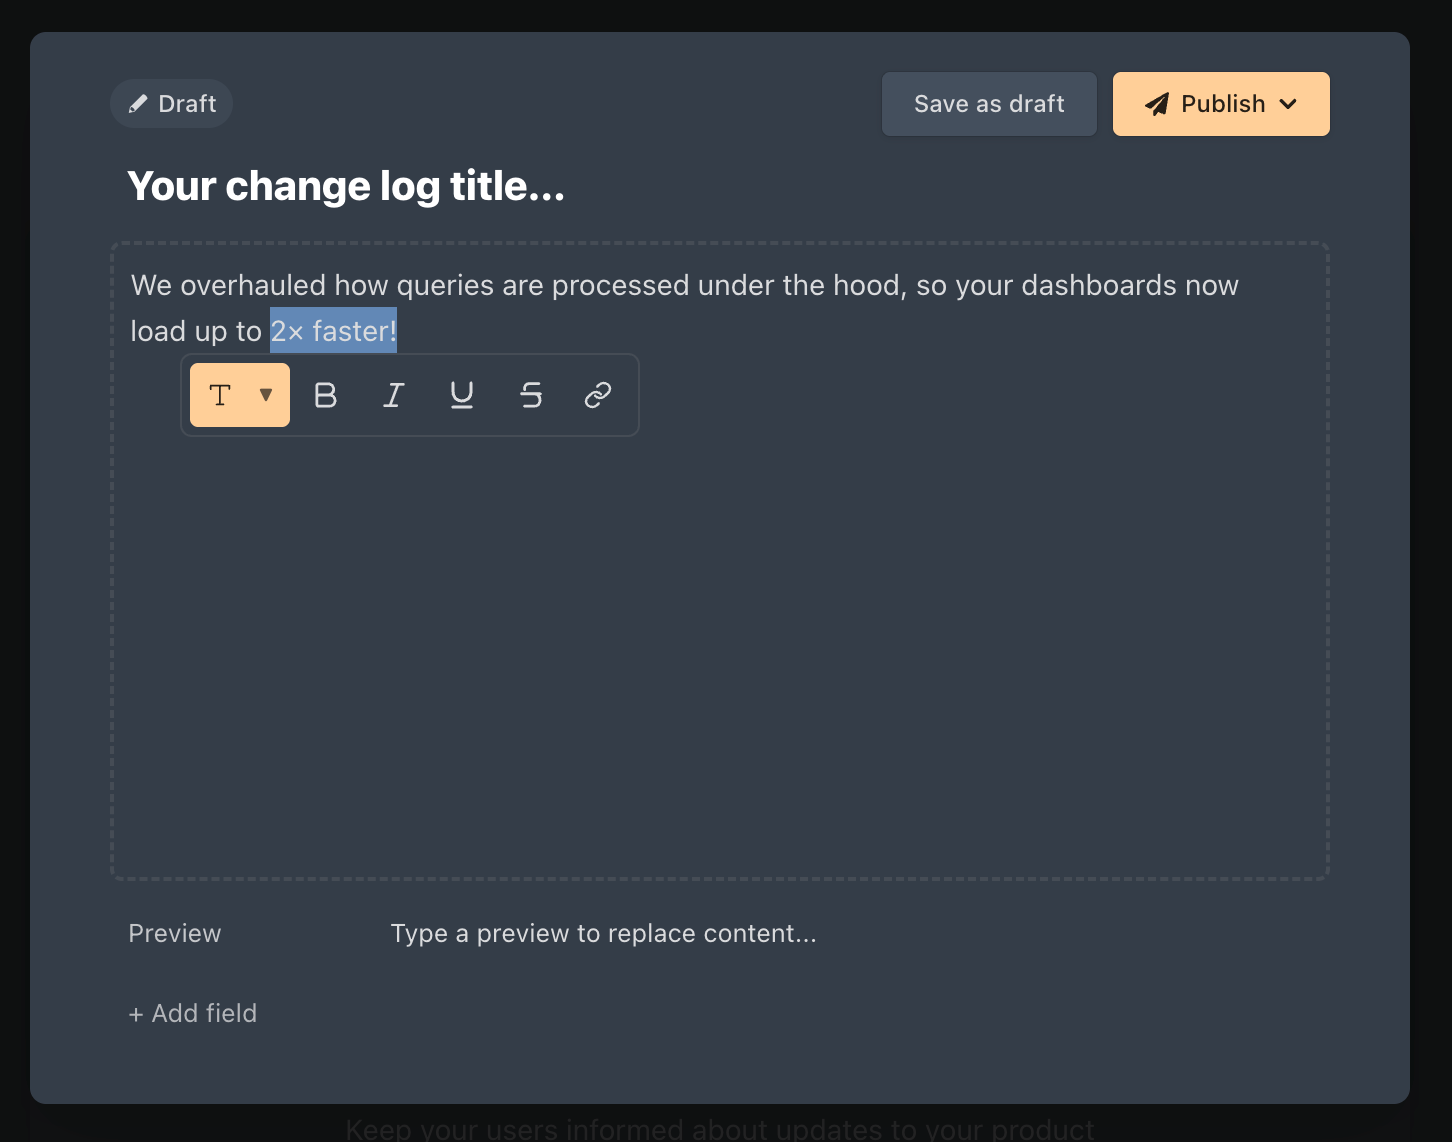
2. Add a preview (optional)
If added, the preview appears on the main changelog page, and the full post is shown only when a user opens the entry. Leave the preview blank if you'd like the full post content to show on the changelog page directly. Previews are useful for longer posts to keep the feed clean and easy to scan.
3. Add tags
Select Add field to attach a Select or Multiselect field to your entry. For more on setting up custom fields, see Custom fields.
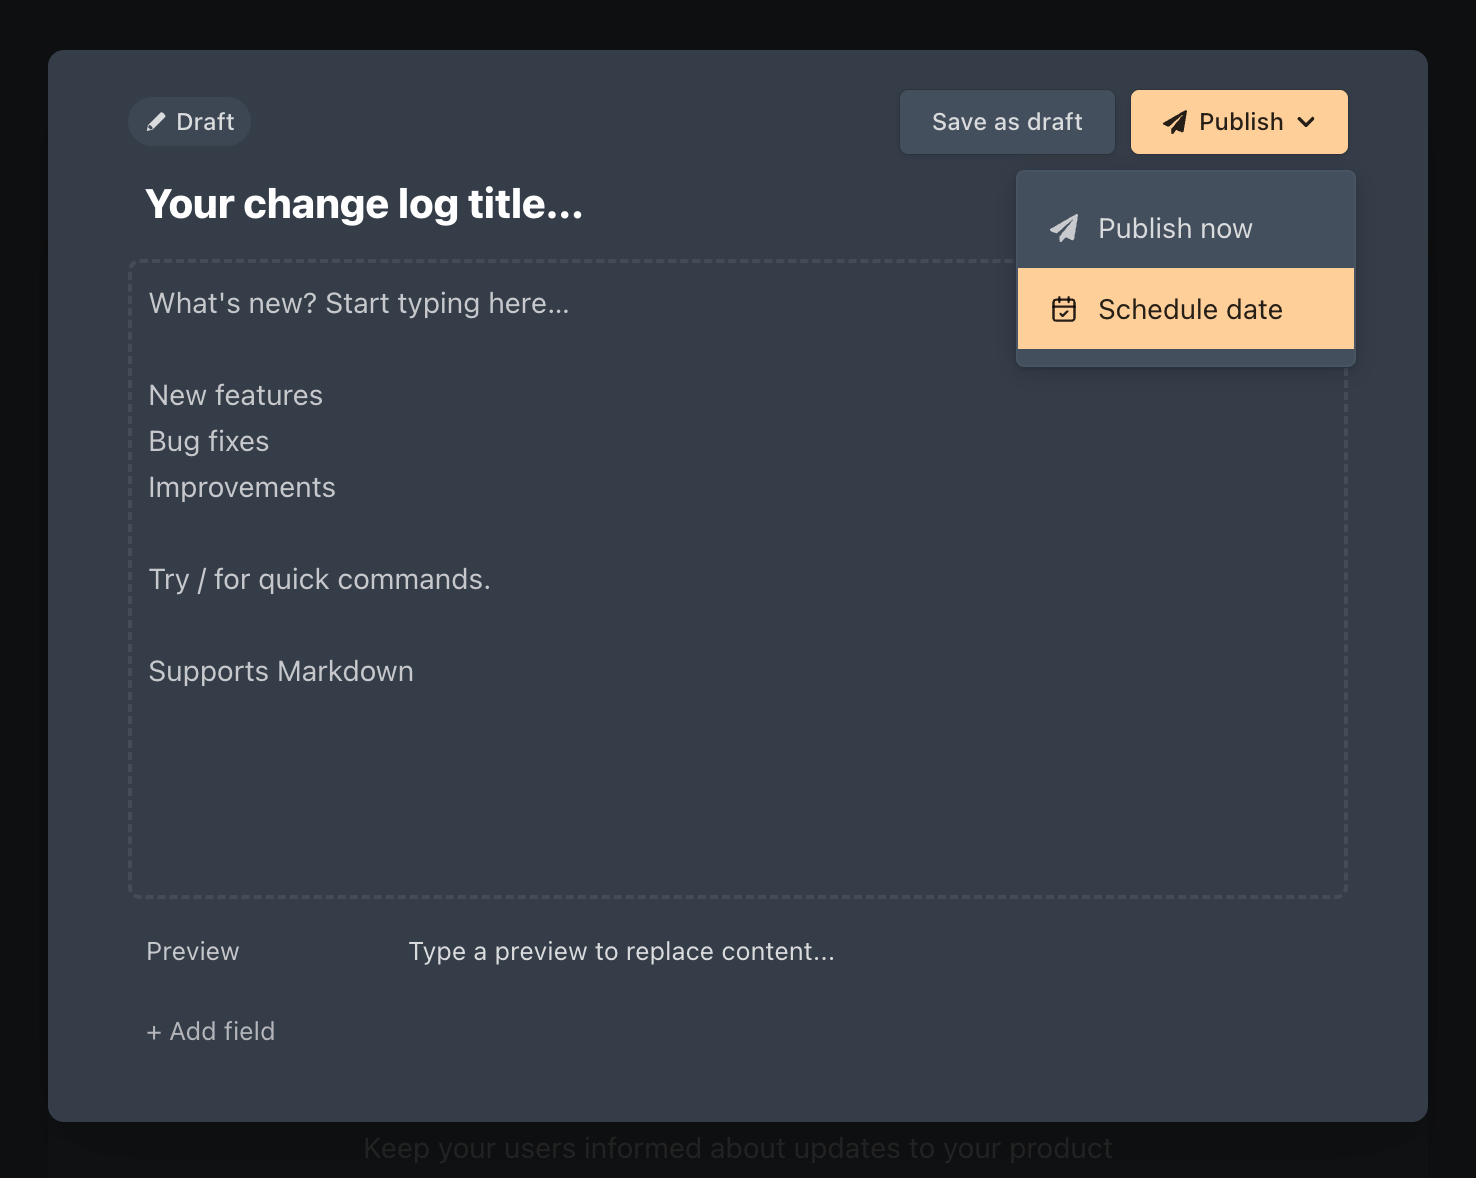
4. Save as a draft, publish, or schedule for later
When you're ready, choose how to publish:
- Save as a draft to keep the entry private while you work on it
- Publish immediately to make it live straight away
- Schedule for later to set a specific date and time for automatic publishing
Generate a changelog entry automatically
Nolt's AI can automatically generate changelog entries from feedback posts or GitHub commits. Generated entries are saved as drafts for review before publishing. You can also add style examples to ensure generated changelogs match your preferred tone and writing style.
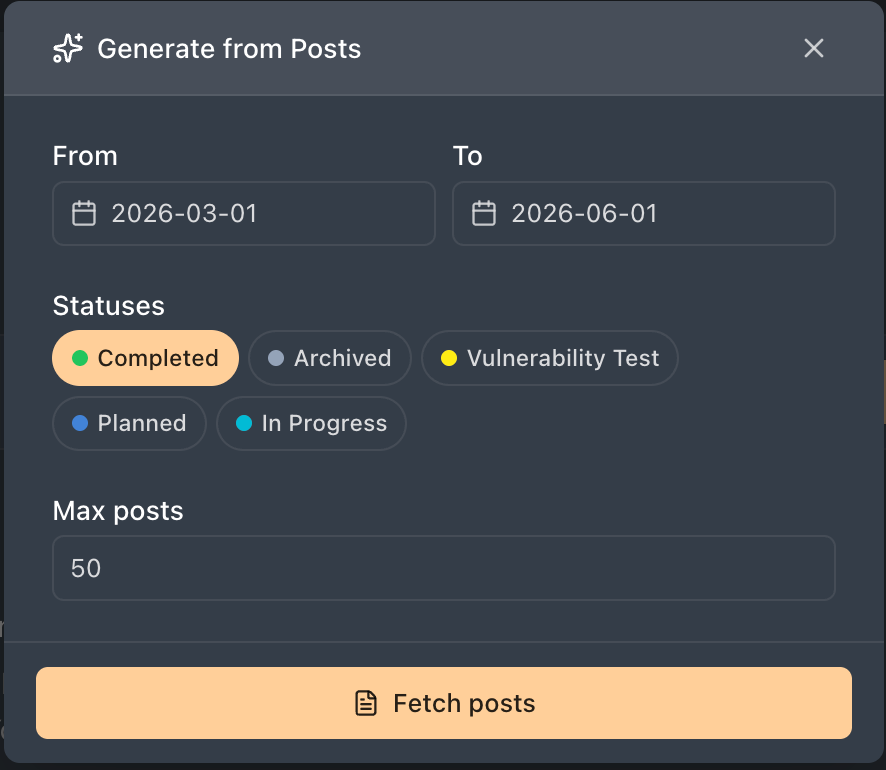
Generate a changelog entry from feedback posts
Select the post statuses, date range, and maximum number of posts to fetch. Then choose which posts to include, set the number of posts per changelog entry to optionally group multiple posts together, and select the style example to follow before generating the draft.
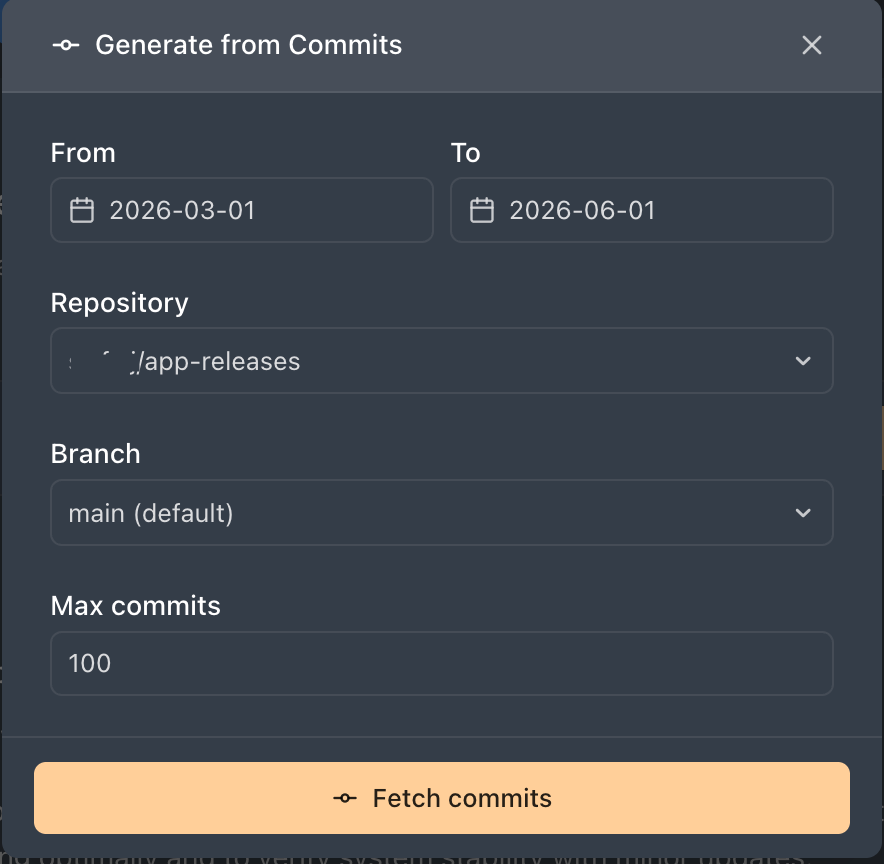
Generate a changelog entry from GitHub commits
Select the repository, branch, date range, and maximum number of commits to fetch. Then choose which commits to include, set the number of commits per changelog entry to optionally group multiple commits together, select a style example, and generate the draft.
You can monitor your AI token usage and reset date from Board settings → Generate changelog.
Changelog reminders
Receive email reminders when new eligible feedback posts or GitHub commits are available for changelog generation. You can choose the reminder frequency or turn reminders off at any time.
Edit a changelog post
To edit a published or draft entry, open the post, make your changes, and click Save.
Unpublish or delete a changelog post
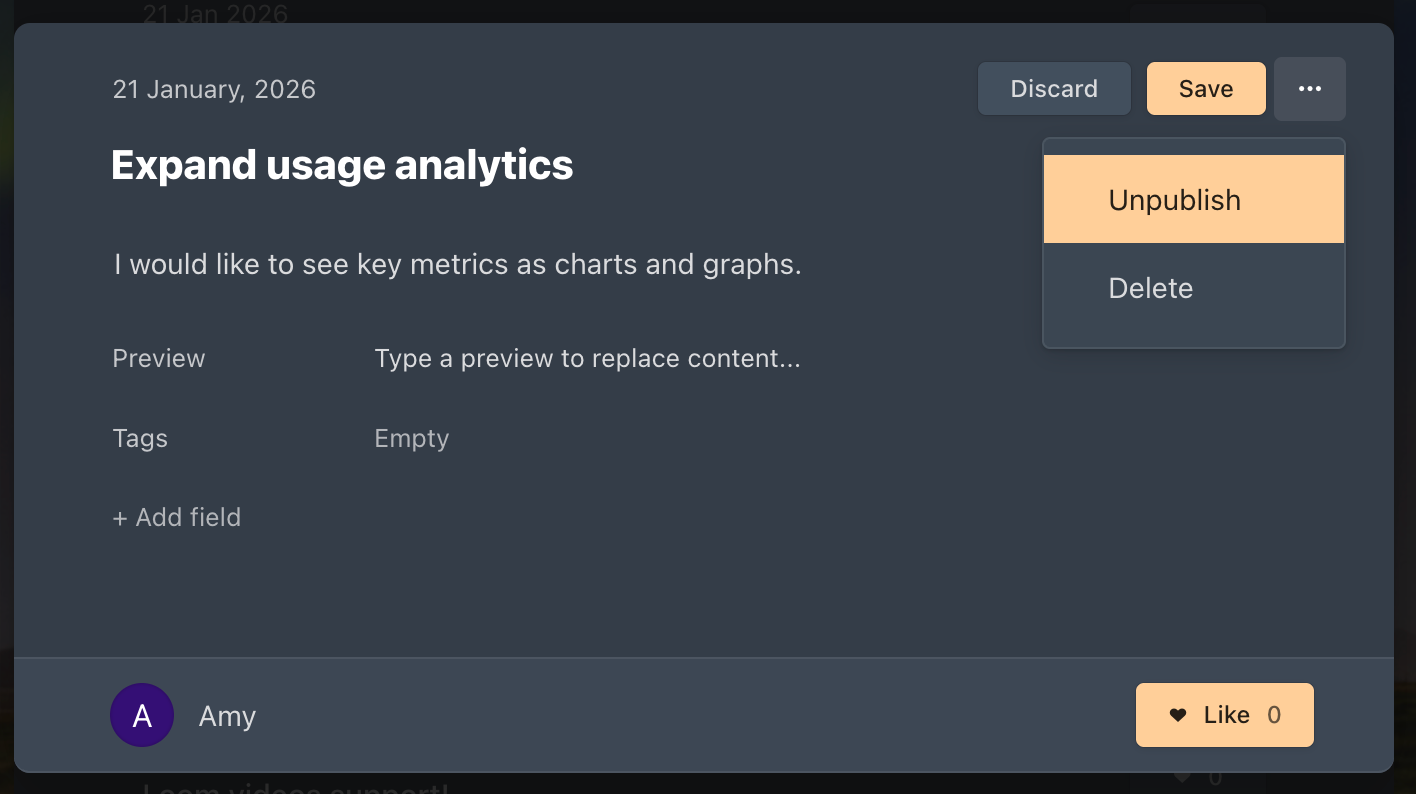
Open the changelog entry, click the ellipsis menu, then select Unpublish to revert it to a draft or Delete to remove it permanently.
Advanced changelog settings
Head to Settings → Changelog → Advanced for additional display options.
- Hide author name: turn this on to publish changelog posts without showing the author's name.
- Hide like button: remove the like button from changelog posts.
- Hide like count: hide the total count from users.
- URL prefix: set a custom prefix for your changelog URLs, for example,
/updatesinstead of the default path.
Changelog widget
Embed your changelog directly inside your product so users can view updates without leaving the app. Go to Settings → Connect and Embed → Website Widget to set up your widget. For detailed setup instructions and customization options, refer to Website widget.