Website widget
We built an embeddable widget you can integrate seamlessly into your website and log in to with single sign-on (SSO), eliminating the need for your existing users to sign in to Nolt to leave feedback. Our single sign-on mechanism means it’s easier than ever for your users to leave feedback and for you to know whom it’s coming from, if you should choose to.
Option 1: Initialize Nolt widget as a modal
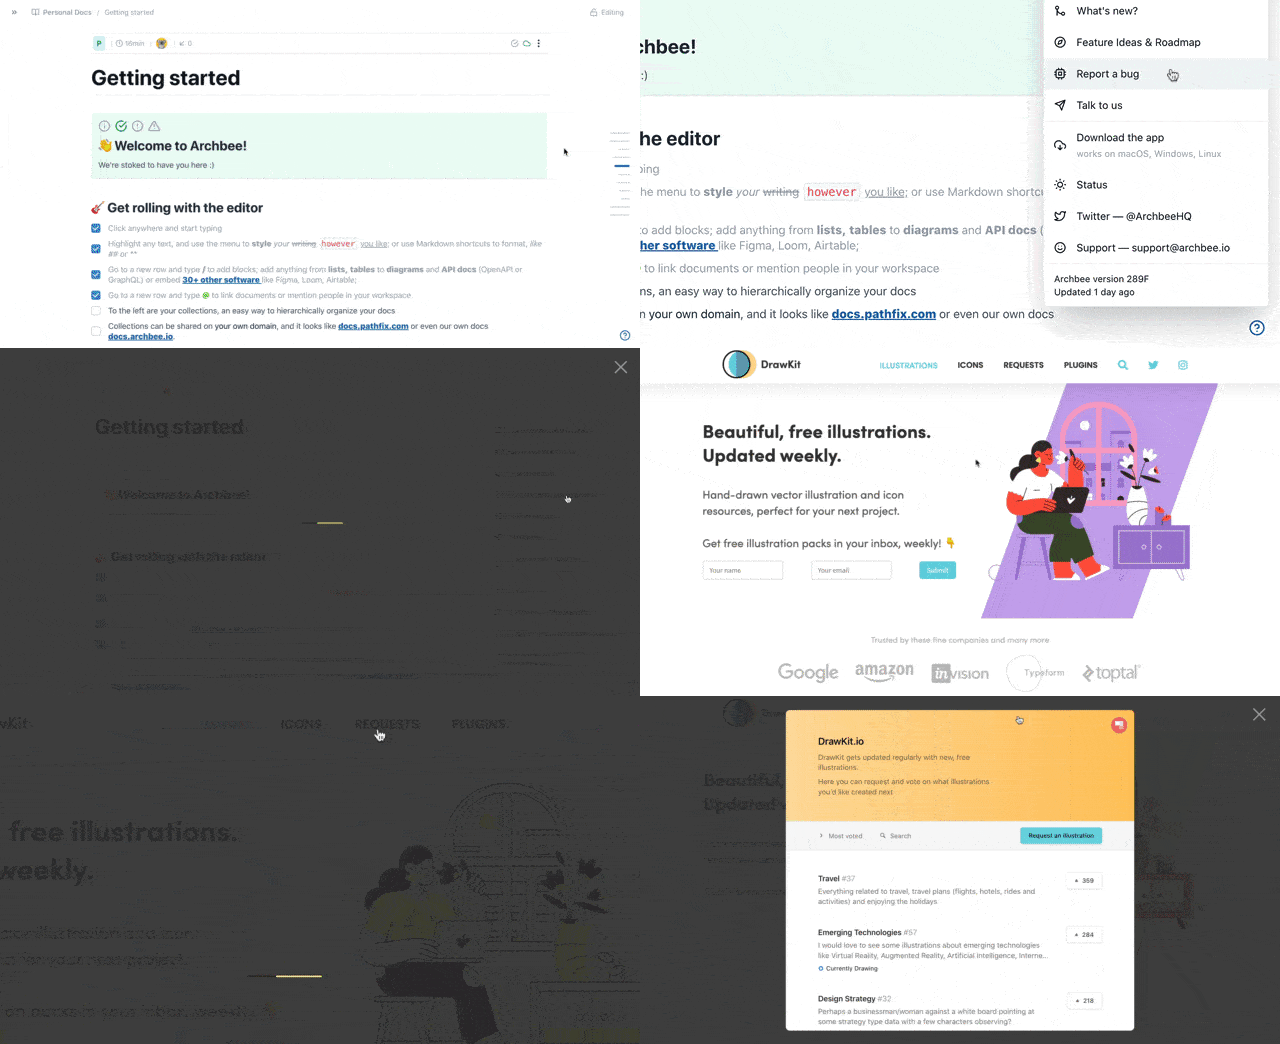
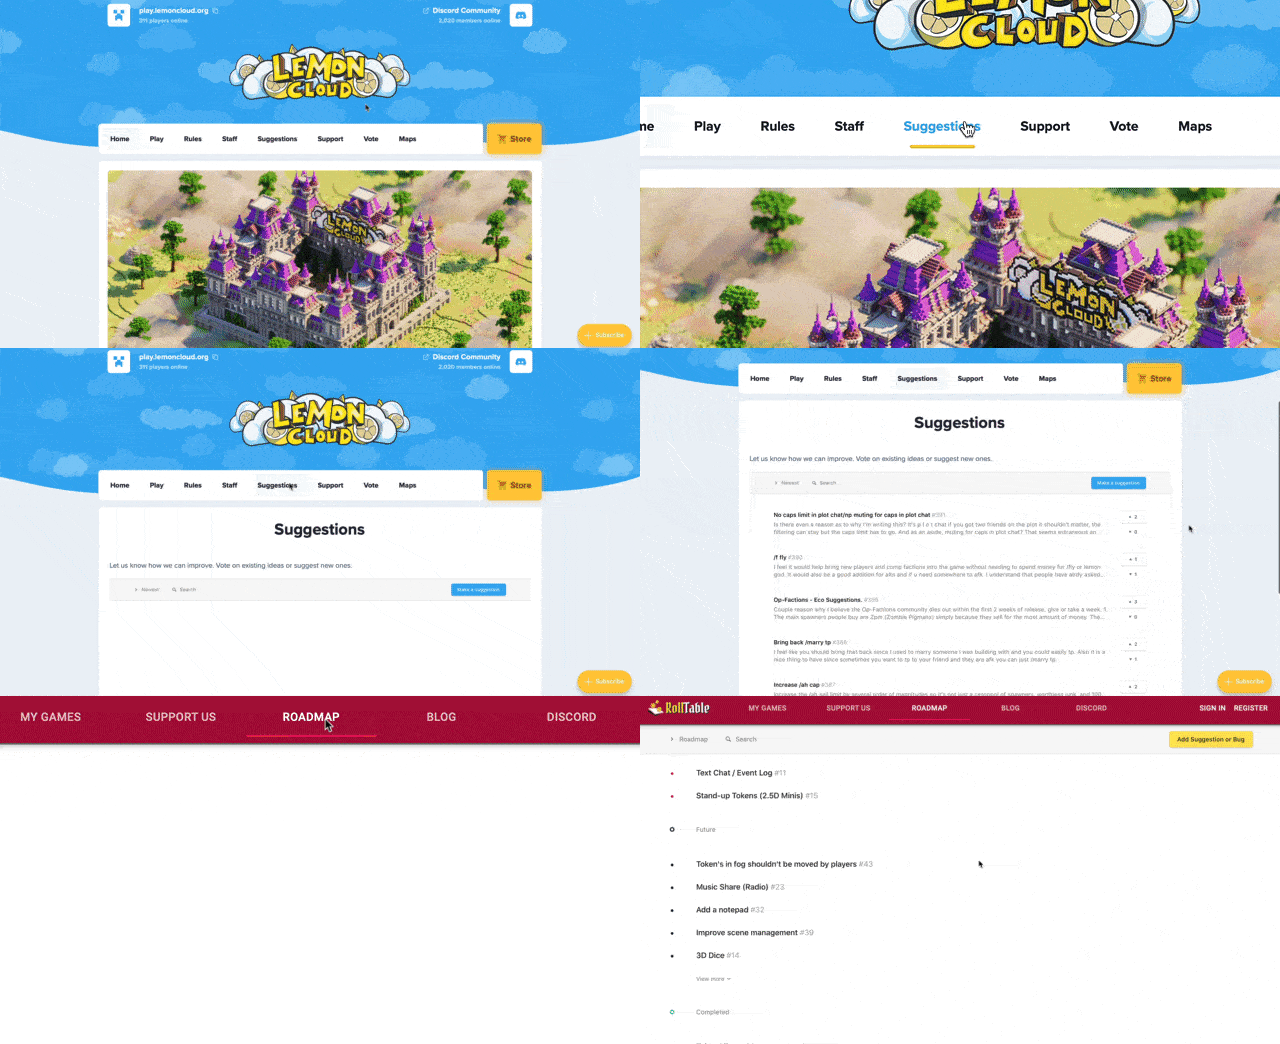
Nolt will display your board or roadmap as a modal embedded in your app or web page. Here are a couple of examples:

To achieve this: paste the snippet below before the </body> tag of your website. Replace the CSS selector placeholder so that it targets the element that should open the modal (on click).
<!-- Nolt library -->
<script async src="https://cdn.nolt.io/widgets.js"></script>
<script>window.noltQueue=window.noltQueue||[];function nolt(){noltQueue.push(arguments)}</script>

<script>
  nolt('init', {
    url: 'https://YOUR_BOARD.nolt.io',
    selector: '.YOUR-CSS-SELECTOR'
  });
</script>
Option 2: Embed Nolt as an iframe
Feeling adventurous? You can build your own widget or embed Nolt into a web page (without the modal) using an iframe. Here are a couple of examples:

To embed the full board as an iframe:
You can embed your full board (which includes the board header) by using this URL format:
<iframe src="https://YOUR_BOARD.nolt.io/widget" title="Nolt" />Remember to replace YOUR_BOARD with your Nolt subdomain. If you are using a custom domain, replace YOUR_BOARD.nolt.io with your custom domain.
To embed the board without the header:
If you wish to remove the board header when embedding your board or roadmap (for styling purposes), add ?withHeader=false to the end of the URL like this:
<iframe src="https://YOUR_BOARD.nolt.io/widget?withHeader=false" title="Nolt" />To use SSO with your iframe:
If you are using SSO and your own iframe, use this link format:
<iframe src="https://YOUR_BOARD.nolt.io/sso/YOUR_JWT?returnUrl=https://YOUR_BOARD.nolt.io/widget" title="Nolt" />Remember to replace YOUR_JWT with your JSON web token and replace YOUR_BOARD with your Nolt subdomain (or custom domain).
Option 3: Nolt-branded button
This is the easiest way to integrate Nolt into your website. Copy and paste the following code into the HTML of your website wherever you would like the button to appear and replace https://YOUR_BOARD.nolt.io with your board URL.
<a data-nolt="button" href="https://YOUR_BOARD.nolt.io">Feedback</a>
<script async src="https://cdn.nolt.io/widgets.js"></script>
Identify your users with SSO (optional)
Using single sign-on, your existing users can automatically be authenticated to your Nolt widget. This provides a seamless experience for them while informing you who is posting and voting on your board. Learn more
<!-- Nolt library -->
<script async src="https://cdn.nolt.io/widgets.js"></script>
<script>window.noltQueue=window.noltQueue||[];function nolt(){noltQueue.push(arguments)}</script>

<script>
  nolt('identify', {
    jwt: '<THE_JWT_THAT_YOU_GENERATED_FOR_THIS_USER>'
  });
</script>
Examples
React
import React, { Component } from "react";
import Script from "react-load-script";
const SDK_URL = "https://cdn.nolt.io/widgets.js";
const BOARD_URL = "https://YOUR_BOARD.nolt.io";
const JWT = "eyJhbGciOiJ...";
class NoltWidget extends Component {
handleScriptCreate() {
console.log("script created");
}
handleScriptError() {
console.log("script error");
}
handleScriptLoad() {
console.log("script loaded");
const { nolt } = window;
// Option 1:
// Render an <a data-nolt="modal" /> element
// Option 2:
nolt("init", { selector: ".my-css-selector", url: BOARD_URL });
// Single sign-on
nolt("identify", { jwt: JWT });
}
render() {
return (
<>
<a data-nolt="modal" href={BOARD_URL}>
Feedback (option 1)
</a>
<button className="my-css-selector">
Feedback (option 2)
</button>
<Script
url={SDK_URL}
onCreate={this.handleScriptCreate.bind(this)}
onError={this.handleScriptError.bind(this)}
onLoad={this.handleScriptLoad.bind(this)}
/>
);
}
}
export default NoltWidget;Electron
Nolt widgets are currently not officially supported in Electron apps. However, many users have made it work. Here are tips that may help:
Use SSO and identify your users with the JWT. This is recommended because in the widget mode (YOUR_BOARD.nolt.io/widget), the auth flow is initiated in a new browser window; unluckily, in the case of Electron apps, that is a new Chrome tab, and the necessary cookies are set in Chrome instead of the Electron app. Specifying the JWT skips the auth flow (and skips this problem). Rendering the auth flow within Electron does not work as it causes a same-origin error from Google and Twitter.
Make sure the localStorage API is enabled. It should be enabled by default since Electron uses Chromium.
Some users run into a third-party cookie error. You can use an undocumented option (skipTests: true) to disable the 3rd party cookie test when initializing the widget:
nolt("init", {
  selector: ".my-css-selector",
  url: BOARD_URL,
  skipTests: true // skips browser 3rd party cookie test
});
However: you will need to thoroughly test the board inside the widget and make sure it works (try adding a test suggestion, comment, and vote).
Otherwise we suggest using a regular link to open your Nolt board in the browser.
Android and iOS
Nolt widgets are currently not officially supported in Android or iOS apps. However, many users have made it work. Here are tips that may help:
You can use a WebView to embed your Nolt board as a web page within your app. You will need to make sure the localStorage API is enabled. You can usually configure this in the WebView settings; here is an Android example:
your_web_view.getSettings().setDomStorageEnabled(true);Use SSO and identify your users with the JWT. This is recommended because in the widget mode (YOUR_BOARD.nolt.io/widget), the auth flow is initiated in a new browser window - this may break the WebView.
Some users run into a third-party cookie error. First make sure that your WebView supports third-party cookies (if not, enable it). If you still run into this issue after enabling third-party cookies, there is an undocumented option (skipTests: true) to disable the 3rd party cookie test when initializing the widget:
nolt("init", {
  selector: ".my-css-selector",
  url: BOARD_URL,
  skipTests: true // skips browser 3rd party cookie test
});
However: you will need to thoroughly test the board inside the widget and make sure it works (try adding a test suggestion, comment, and vote).
Troubleshooting
Third-party cookies
The widget requires third-party cookies to function when installed on your own domain. This is not a problem on Chrome, but Safari and Firefox block third-party cookies by default for privacy reasons; while this policy is well-intentioned, it breaks many legitimate use cases such as embedding third-party widgets (like Nolt). We have a few work-arounds...
By default the widget tests for browser third-party cookie compatibility before launching; if the browser blocks third-party cookies, the widget tells the user this and provides a link to open the Nolt board in a new tab or window. Chrome users will enjoy the widget while Safari and Firefox users will usually need to follow the link unless they have changed their default browser settings to allow third-party cookies.
To make the widget work in Safari and Firefox (without third-party cookies), you will need to enable custom domain and use a subdomain that shares the same root domain. For example: if your domain is acme.com and you setup feedback.acme.com with your Nolt board, the Nolt widget will work without third-party cookies when installed on any webpage on acme.com and any other subdomain of acme.com (*.acme.com) - but it will not work on web pages hosted on anotherdomain.com
Content Security Policy (CSP)
If your website employs a Content Security Policy (CSP), modifications may be necessary to ensure compatibility with the Nolt widget. Here are the essential CSP directives:
<meta http-equiv="Content-Security-Policy" content="frame-src 'self' *.nolt.io">For a more tailored approach, especially if you are utilizing a single board or a custom domain, specify that domain directly. For instance, if your custom domain is feedback.nolt.io, your directive would be:
<meta http-equiv="Content-Security-Policy" content="frame-src 'self' feedback.nolt.io">In scenarios where a custom domain is in use, such as feedback.example.com, the directive should directly reference your domain. Replace *.nolt.io with feedback.example.com to align with your custom setup:
<!-- For a custom domain setup -->
<meta http-equiv="Content-Security-Policy" content="frame-src 'self' feedback.example.com">
Additionally, if you prefer to implement CSP via HTTP headers, the corresponding setup could look like this:
// Node Js
// For adding CSP with an HTTP header, and assuming a generic Nolt domain:
response.setHeader("Content-Security-Policy", "frame-src 'self' *.nolt.io;");

// For a specific subdomain or custom domain, replace *.nolt.io with your domain:
response.setHeader("Content-Security-Policy", "frame-src 'self' feedback.example.com;");
Other issues
Please reach out to us at hello@nolt.io - we are happy to help.